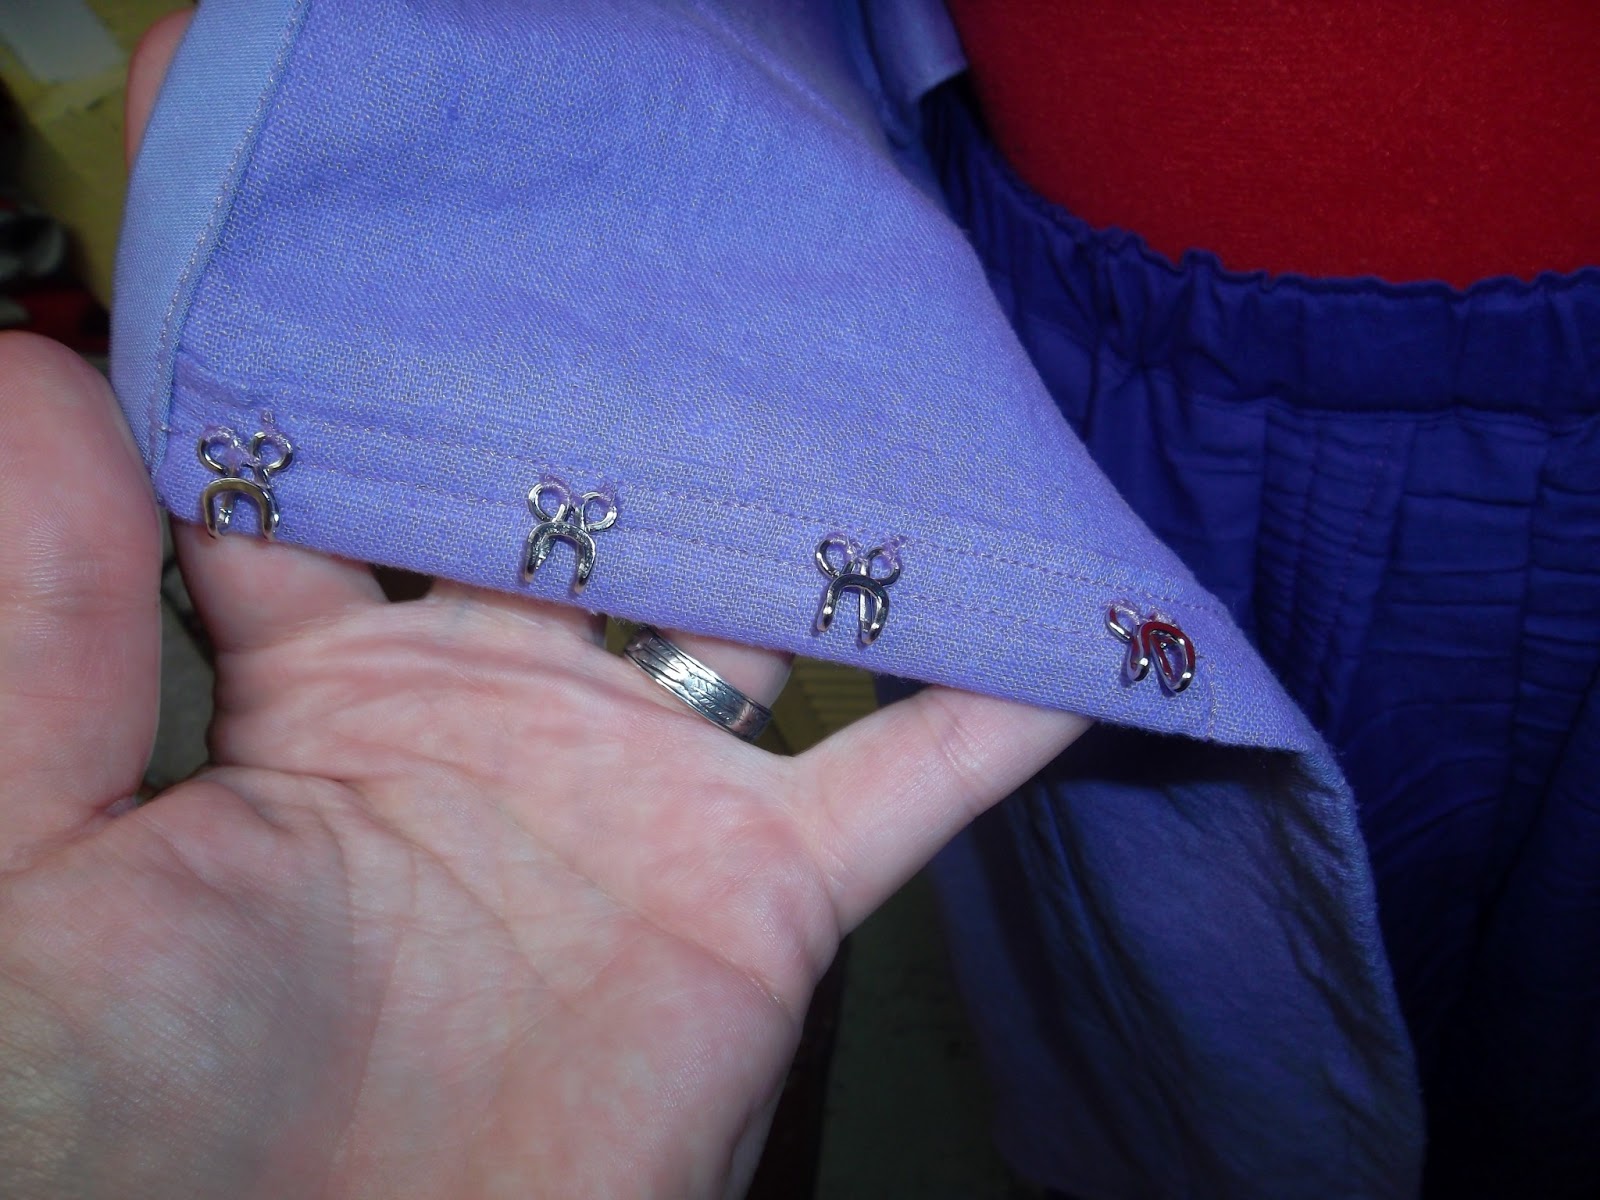
Ah, yes, everyone's favorite under/over garment... the Corset.
Corsets and I have a love/hate relationship. So much so that over the years I have learned to make a toile, or a test-run, of any corset or bodice pattern that I intend to use. It adds time to a project, sure, but it also means that the pattern fits *me*.
When I made the toile for this corset, really more a set of Elizabethan stays, I was ready to call "shenanigans" as the toile seemed to fit just right. After the rigamarole with the neckline of the shift, I felt I was legitimately concerned for the overall state of the corset. I was pleasantly proven to be overly-concerned.
 |
| Sticking with the same pattern, Ladies and Gents! |
 |
| The inside of the corset, and all of its dirty secrets! |
I went a touch off the beaten path with the pattern. Just a smidge. The pattern calls for a layer of outer fabric and a layer of heavy duty lining fabric (something akin to canvas). I had some drapery lining that I'd been wanting to test for corset building, but I was concerned that one layer wasn't going to give the corset enough body. So, I put the corset together as per the instructions (right up until the binding) using two layers of my lining fabric. I then put together a layer of outer fabric and "floated" it on top.
You'll see.
 |
I didn't take it all the way out, because it is tied in, but this is the tip of my wooden busk.
My intention is to decorate my busk, so it is just like nobility and royalty had. |
I have to thank my Father for the wood-working on the busk. I'm in a bit of a time-crunch and didn't really want to risk disaster.
 |
| Front View |
What I meant by "floating" the top layer is that it isn't sewing into the rest of the corset. You can see here that it doesn't have any of the bone-lines showing through. That is because the outer-layer is "floating" on top of the bones.
 |
Front View; Detail
Busk Tie |
I didn't pull the busk all the way out and picture it, but it has two, little holes drilled into it towards the bottom of the busk. These two holes correspond to button holes that I put into my outer-fabric, lining layer, and the busk pocket (which is sewn into the lining layer). Feeding ribbon through all of these layers proved to be impossible, so I instead used a blunt-tipped needle to feed some pearl cotton thread through.
The overall point of a busk tie is to keep the busk anchored as you stand-up, sit-down, and move around. So, while it was tempting to skip the step of making all those button holes, I didn't want my wood to be poking out and saying hello. ... ahem ...
 |
| Side View |
 |
| Back View |
Something that I'm pretty happy with about this pattern is that it is only three pieces. Three pieces that go together *logically*. It makes it very easy to do as I have done and pick a large-printed fabric and match up the patterns on each piece, so the whole garment looks continuous.
A note, though. The pattern asks that you make your own bias tape, which I probably should have done. I purchased my bias (again, time crunch) and purchased standard-sized "Single Fold" bias. It was difficult to fit over the seam edges and just very annoying. If I were to do this again, I might still buy my bias (I really dislike making my own) but I would buy "Extra Wide Single Fold" and make my life a little easier.
Oh! Also! You are probably wondering what happened to those lovely tabs that the pattern picture shows, but I do not have on my corset!
To be candid, I plain forgot about them. I got into a groove and there was no stopping me. In retrospect, I am kind of glad I forgot. You are suppose to fit them into the corset as you bind the bottom edge, and as I was already having trouble with my bias-width, it would have taken binding the corset from "annoying" to "nightmarish".


