Tuesday, May 14, 2013

Sunday Undies... Shifty Business

The second piece of my Sunday Undies was the "shift" portion of my undies.  Shifts were usually made from basic cloth, like linen or wool and were meant for the sole purpose of keeping sweat and body oils away from your outer-garments.  My shift is not made out of a basic cloth (please see earlier confessions of enjoying outrageous fabrics), but it will serve the purpose of keeping my sweat contained, I am sure.

I have no shame in saying that I used a pattern.
(A) I have always wanted to test run this pattern.
(B) I am working on a tight schedule, and I don't have time for draping.

So here's the front of the chemise.
You'll note that the neckline seems a bit rumpled and strange.
It seems strange because it is strange.  Perhaps the problem came in when the pattern company sized the base pattern up to a size 24 (my size for this pattern), but the neckline came out to be about twice the width of my shoulders.  I ended up doing some pleating in the front and the back and then putting a drawstring in, all in an attempt to keep the shoulders in place.  The end effect isn't terrible, but less than what I was hoping for.


Side View

Arm pit view!
This view is important so that I might show the arm-pit gussets!
For all of my complaints about the neckline, I have to admit that the rest of this pattern is really smooth.  My gussets went in easy-peasy, which isn't something I can usually say, and the sleeves needed only a minor adjustment for my Slavic-Peasant arms.  Even better, the 13.5" ease (yes, you read that right) allows *plenty* of room for my child-bearing hips.

Back View
I don't have any "in progress" pictures, because I honestly just followed the pattern instructions, and until I figure out what went wrong with the neckline I don't have any particularly interesting hints or tips.  I also had a "brilliant" idea to flat-fell all of my seams, only to realize (somewhere around the gussets) that flat-felling gussets is pretty well a useless pursuit.  The inside is pretty heinous (by my standards) as a result.

Regardless, I'm happy with the end result and I can't wait to trot this one out for my class!

Friday, May 10, 2013

Sunday Undies... the Petticoat Part

There are some of us in my LARPing community that take costuming a bit more seriously than others.  More and more, there are appears to be something of a crowbar between those that *garb* and those that have transcended into *seamstresses/tailors*.  I am of the belief that every average LARPer should be able to slap together a pair of pants and a tunic for themselves, as I believe in self-sufficiency, but something along the lines of an embroidered doublet with slash-and-poof sleeves...  Well, that can be left to those that take the craft of sewing more seriously.

I sincerely *enjoy* that there are more and more folks that are taking sewing, not just garbing, more seriously.  It is easier and easier for me to find people where we can trade websites for supply houses for bizarre sewing notions (like, buckram waist-tape... more on that).  I also enjoy it as it gives me an excuse to give classes on things like historical undergarments, and I'll know that not everyone will be bored out of their skulls.

For an upcoming class that I am holding, I'm putting together a set of Elizabethan underpinnings.  They aren't 100% historically accurate, I like modern printed fabric and colors too much for that, but the whole point is that I'm creating a silhouette that my historical garments can rest on.  Foundation, Foundation, Foundation.

Here is the Petticoat Part...
... Petticoats are important over hoops, because you don't want your hoop-bones to show!

My faithful dress form, Geneveive, wearing her (my) hoop skirt.
Yes, I bought the darn thing instead of making it.
No, you can't judge me for it.  $25 vs. $??? + Pain and Suffering.  Right.

My fabric and notions selection for this project.
Please see above for my confession of loving modern colors and prints.

I could have also named this project,
"Directional Fabric; because Sometimes I Hate Myself".

Clever me did a couple things:
(1) This is the back-center seam.
It is opened to about 9" from the top, and the seams are  pressed out and hemmed down.

(2) This is one of the inner seams, and they are all "french".

I didn't get a picture of the knife-pleats, but just trust me when I say there are a lot of them.
(Pro Tip... use a fork!)
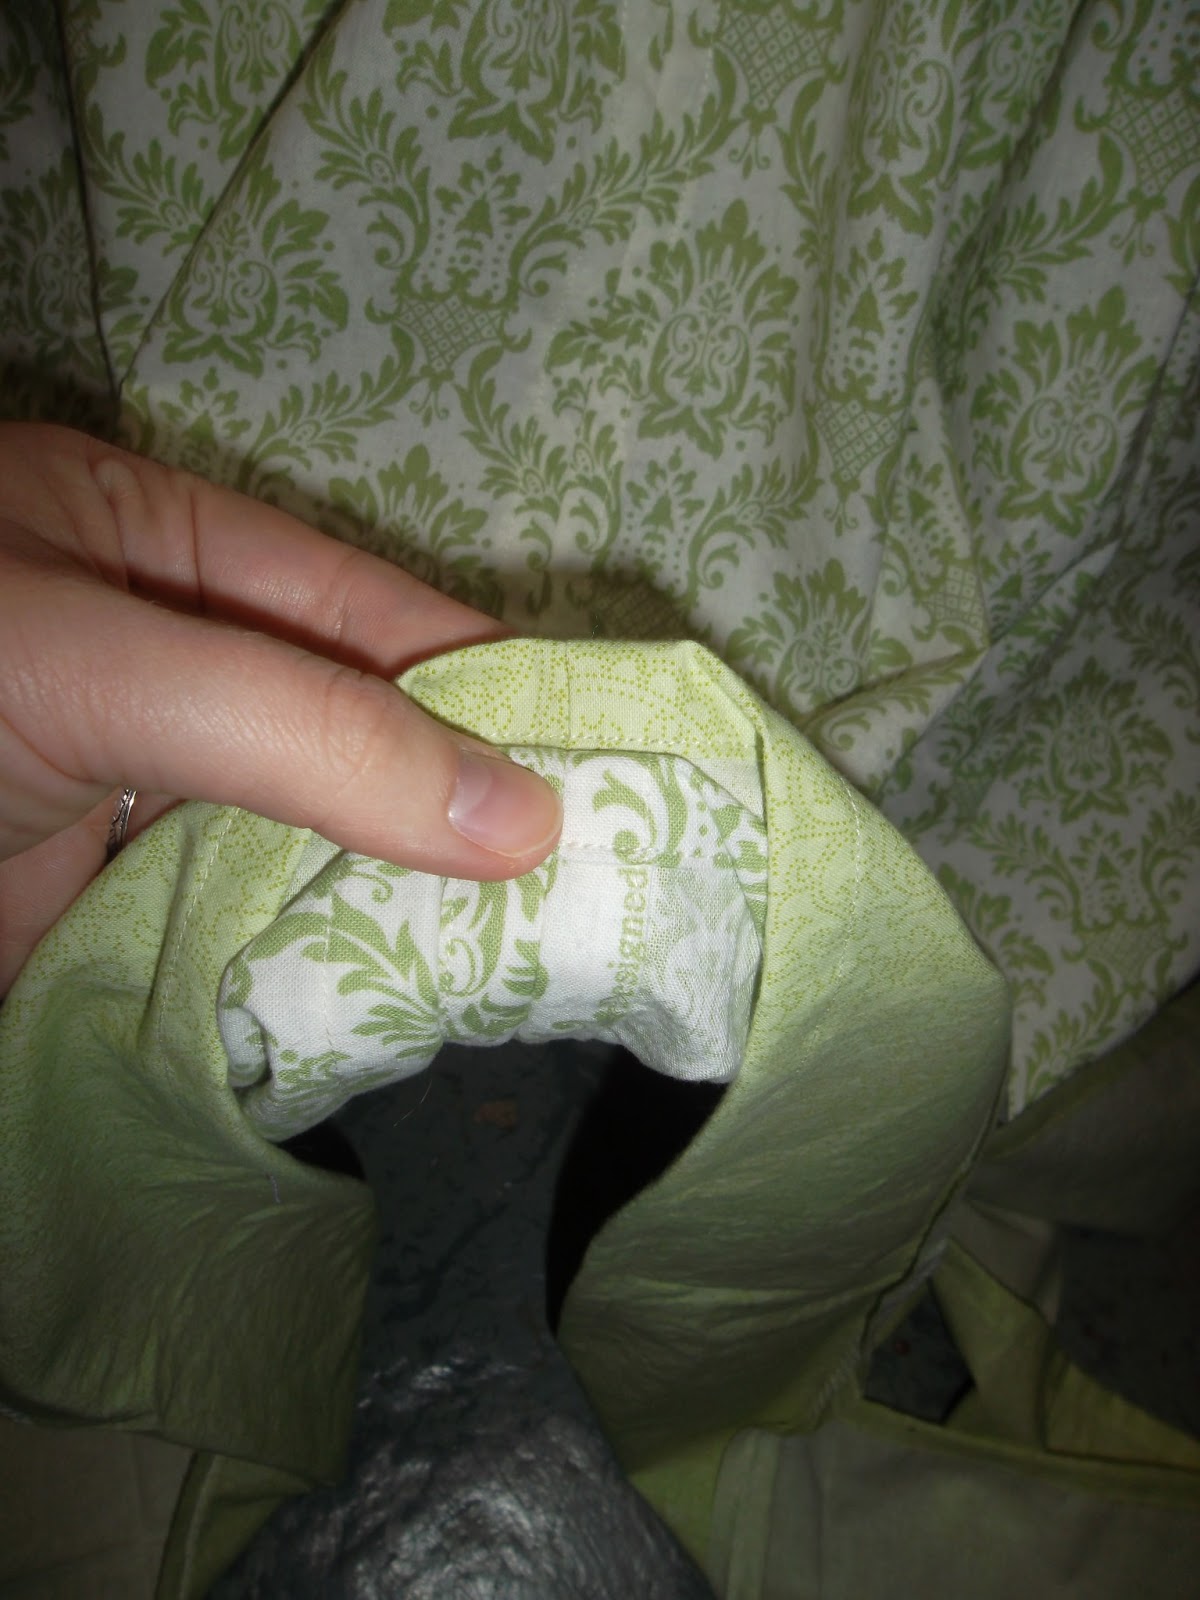
In this picture, though, I'm sewing on my waistband and folding in buckram waist tape.
This stuff is basically interfacing, but it will keep its stiffness for longer than typical interfacing will.
Either way you do it, you want to have a crisp, stiff waistband.

Un-clever me decided that this kind of closure would be a good idea.

When I became "Clever Me" again, I fixed it with a proper button hole and properly placed button.

This is just a vanity picture of the hem on the skirt.

This is my ruffle, for the bottom hem.
It, too, is hemmed.

It is also "french" seamed, for consistency's sake.

I hate gathering/ruffling.  Hate it.
Here is phase 1 of my secret weapon against it.
Zig-zag stitch at maximum stitch width and length.

Phase 2 is crochet thread.

Phase three is zig-zagging the crochet thread into place, all along the top edge of the ruffle.

It will look something like this as you go.

When you meet yourself back at the starting point,  you want to leave some tails for pulling.

When I test-ran the skirt of the petticoat on the hoop, I found that I had a good length, so I am overlapping the ruffle on the skirt just a touch.

This is what that overlap looks like from the top.
Having the extra fabric under the ruffle is actually important, as it will support the ruffle and help it "fluff" out a bit more.

Pull the crochet thread, and it works like a drawstring, giving you this effect.
Then, it is just a matter of straight stitching the ruffle down into place.
Also, you'll probably want to pull out all of the crochet thread when you are done.

Because I didn't want that ugly rough edge at the top of the ruffle showing, I'm covering it with some ribbon.

I'm tacking down the ribbon on both edges, FYI.

And there is the finished effect!

Back View

Front View

Swimming in Skirts

Since I opened Eleventh Hour Sewing on Etsy, I've been making my "Pick Up" skirts almost non-stop.  I am glad they are so popular, though I really feel like they need a better name, and I'm always excited when someone wants one in a custom color or combination with my "Panel" (again, need a better name) skirt.

Here is a set I just finished up, and I'm really rather fond of how it looks over the hoop-skirt that happened to be on Genevieve (my faithful dress form) (more on why she has a hoop-skirt on later).


Thursday, May 9, 2013

Sinestro Corps Tunic

I said it on my Facebook Page today, but I get the best project requests from the best people.  A fun facet of the very relaxed nature of my LARP group is that you can find a great many instances where pop culture bleeds into Renaissance-Medieval Land.  For example, a project of mine for myself from a few years ago:

Yes.  I totally made myself into Medieval Rogue.
I have bigger plans for a better Medieval Rogue in the future, FYI.
So it really came as no large surprise when someone came to me with a request for a "Sinestro Corps Tunic".  Something along these lines...


... in tunic form.

One of the challenges in taking any iconic character, especially comic book characters (where the fan base can be rabid), and making it into "historical" clothing is trying your best to keep both sides of the fence happy.  As a result, I had a fair amount of back and forth with the tunic's owner, which means that I have more "in progress" pictures than I usually do (which really isn't saying much).

This was where I was blocking out the applique bits, and making sure I had it right.

This was where I screamed and lamented that I hadn't bought more yellow thread.

Uh... yea.  That is what I've got for "in progress" pictures.

So feast your eyes upon the "Finished!" pictures!

Front View

Side View, with Sleeve Extended

Back View

Detail of the Emblem
The emblem was appliqued using a "tear away" applique technique and I was really pleased with how it worked out.

Wednesday, May 8, 2013

Let's Hear it for the Boys!

I know that I have many, many pictures of pretty girls in my pretty costumes, but I also do a fair bit of Men's Wear.  Here are the handsome Dustin and dapper James in some of my manly things...