Tuesday, June 11, 2013

Not Dead Yet!

The comic book character requests haven't stopped rolling in!  I love it!  This was the most recently incarnation, a tunic inspired by Deadpool!

Front View
Please note the "horseman" style used again.
Dost I see a trend emerging?
When I was asking about features for the tunic, and a keyhole neckline came up, I felt like Deadpool would want some lacing.
Side View
Someday, my faithful dress dummy Genevieve will have a man-friend so these tunics don't look so fem.
Back View
Deadpool doesn't really have a classic emblem, so we decided to embellish the back with his katana instead.
I am really loving the "tear away" technique of applique I've been using, and I definitely used it here.


Wednesday, June 5, 2013

Flash as Blue Lantern

The Sinestro Corps Tunic of recent production has opened up a great-many doors for me in terms of styling medieval-esque tunics as comic book characters.  I have a ridiculous amount of fun putting them together.  Today's work was on a Blue Lantern Tunic, styled as when Flash becomes a Blue Lantern.

I started out with this as my reference point.

Front View

Side View

Back View

Detail View of the Emblem

Tuesday, June 4, 2013

Tunic Bonanza!

With the debut of the Sinestro Corps Tunic, I have gotten a rash of requests for tunics from folks within my LARP.  Anytime I sit down with a tunic, I feel like I'm getting back to my roots and I really enjoy being able to apply new tricks and techniques to my tried-and-true tunic pattern.  Here is the latest...

As you can see, I'm really dealing with a basic t-tunic style in a parti-color.
I *love* the placement of this applique.
Oftentimes, you can get stuck as to where to put an applique when you are dealing with parti-color, and this is a fantastic way around it.
A close-up on the applique.
Each piece is individual, which made for a nice challenge!
A close-up on the neckline.
A keyhole neckline was requested, and was happily installed!
This part, right here, is something I haven't been asked to do in *ages*.
The tunic has a split up the center front, and a split up the center back.
This styling is sometimes called a "horseman's tunic", and I don't think I've done one like it for about 10  years.
I go from this project right into another tunic, another comic character themed one actually, so stay tuned!

Tuesday, May 14, 2013

Sunday Undies... Bummed Out

This is the last post in my "Sunday Undies" series!  I hope that you've enjoyed the posts so far, and that you'll be back to read my non-undies related posts.  Better yet, if you are an Amtgardian, I hope to see you at Great Eastern so we can talk about my undies in person.

But right now, I'm going to talk about bumrolls!

Bumrolls are a silly under garment.  Really, they aren't even a garment.  More of an accessory.  In any case, they were meant to give a woman rounder looking hips and a wider looking backside.  When bumrolls were in fashion, so was fertility and the ability to bear healthy, bouncing baby boys for your husband so his name and bloodline could be carried on.  It was assumed that a woman with wider hips and a bigger rear would be more fertile and therefore more likely to have healthy (read: surviving) babies.

I remain unashamed of my pattern usage, though a bumroll is really just a C-shaped pillow with ribbon-ties.

The lovely Genevieve pre-bumroll.
Disclaimer...  Yes, I knew approximately how hideous these undergarments would all look together.  I did that on purpose.  The point of undergarments is that they go *under* your pretty, color-coordinated outer-garments.  I feel as though this is a form of self-expression.

Bumroll tied in front.

Bumroll, Side View

Bumroll, Back View

Bumroll, Detail View
You should be able to see the detail a bit better if you enlarge the picture, but I've added some embroidery bits onto the bumroll.  The wealthy would embellish their undergarments nearly as much as their outer-garments, which is something I plan to do over time.  The bumroll is just the beginning of that.

Sunday Undies... Bloomin' Bloomers

I made these a few years ago, but as they were always meant to go with this set, I don't mind (officially) sharing them with you now.

Bloomers!  I love bloomers.  I wear bloomers with my "IRL" (in real life) skirts when I can.  My thighs are the kind of thighs that rub together (sadly) and having the ability to wear pants under a skirt is a boon.  Additionally, with how much I move around at events and the like, I sometimes have to hike-up my skirts.  Bloomers keep me from showing off too much leg.

Bloomers, hung inelegantly on a hanger.
Bloomers do not have to be a big deal.  I made these without a pattern, and in the same way that I make pants.  The big difference is that they are a touch shorter and then I ran a channel with some elastic below the knee to make the ruffle.

What is a pair of bloomers without some fluffy lace?
Oh, and I added some lace to the ruffle.  Because bloomers need lace.  I am sure it is a rule somewhere.

Underside of the lace-on-the-ruffle.

A tip on adding lace to a ruffle.  Don't put the edge of the lace on the outside of your ruffle-hem.  Put it on the inside, and try to keep your "stitching-on-the-lace" seam in line with your hem stitching.  It just makes it look cleaner.

And now for something slightly different...

I finished a commission piece that had become something of a Dragon to my St. George.  It wasn't that the piece was difficult or out of my range of abilities, it just felt like each step I took with the project provided me with a different hurdle to cross.  I have no idea what the problem was, but given how the finished piece came out, I'm glad I had to jump through those hoops.

There was specific inspiration for the piece.  I won't say what.  I'm sure you smart boys and girls can conjure it up.

We started out with one of my popular Pick-Up Skirts... in purple.

Then we added what I've come to call a "Quasi-Ghawazee" coat.
Ghawazee coats are a Middle Eastern garment that are characterized but an under-bust cut and usually straight seams, sometimes with gores fit in over the hips for some flash and flare.  I call this a "Quazi-Ghawazee" because the seams are curved and there are other design features that you just don't see in a typical ghawazee.

For example, typical ghawazees don't have boning.

But they would have hooks...

... and eyes.

But not lacing under the arms.
The quasi-ghawazee is split over the hips, as many "intended for dancing" ghawazees are, but in an effort to maximize form-fit on the garment, my client asked for lacing to be put in under the arms.  The laced edges are also boned, to help keep the seam straight.  There is one more feature to the underarm, but more on that later.

Back View
Since we were splitting the seam over the hips, I opted to put the gores into the side-back seams  It will give the coat a bit of swish and flare to the rear.  It also gave me an opportunity to introduce another color.

Detail View; Left Gore

Detail View; Right Gore
Of course, my client's heraldry offered many more colors for introduction.  I appliqued this all using a tear-away technique, and the white star is doubled-up so as to keep it opaque.  Also, for those that didn't already know, making six-pointed stars is really challenging if you aren't artistically inclined.

Inside View - Just as colorful!

Some seams are flat-felled.

Other seams are "hong-kong", or hemmed in on themselves.

Because flat-felling gores is a rubbish idea.

Sleeve Seam; I encased this one in bias, but didn't flat-fell it.
The coat is made of linen, which is not a fabric I use very often.  It has a great weight and flow to it, which I like, but the weave is dense and it frays pretty dramatically.  I felt that a zig-zag finish just wasn't going to cut the mustard on this piece, and so I went to some extra trouble to keep the inside clean.

Modesty Panels!
This is the extra feature about the lacing I mentioned earlier.  I put a modesty panel in behind the lacing for a couple of reasons.  One, metal grommets against skin can be uncomfortable.  Two, the idea of the lacing was to form-fit, and I didn't want to risk skin sticking out from between the laces.

Have you guessed the inspiration, yet?

Sunday Undies... Trussing it Up

Ah, yes, everyone's favorite under/over garment... the Corset.

Corsets and I have a love/hate relationship.  So much so that over the years I have learned to make a toile, or a test-run, of any corset or bodice pattern that I intend to use.  It adds time to a project, sure, but it also means that the pattern fits *me*.

When I made the toile for this corset, really more a set of Elizabethan stays, I was ready to call "shenanigans" as the toile seemed to fit just right.  After the rigamarole with the neckline of the shift, I felt I was legitimately concerned for the overall state of the corset.  I was pleasantly proven to be overly-concerned.

Sticking with the same pattern, Ladies and Gents!

The inside of the corset, and all of its dirty secrets!
I went a touch off the beaten path with the pattern.  Just a smidge.  The pattern calls for a layer of outer fabric and a layer of heavy duty lining fabric (something akin to canvas).  I had some drapery lining that I'd been wanting to test for corset building, but I was concerned that one layer wasn't going to give the corset enough body.  So, I put the corset together as per the instructions (right up until the binding) using two layers of my lining fabric.  I then put together a layer of outer fabric and "floated" it on top.

You'll see.

I didn't take it all the way out, because it is tied in, but this is the tip of my wooden busk.
My intention is to decorate my busk, so it is just like nobility and royalty had.
I have to thank my Father for the wood-working on the busk.  I'm in a bit of a time-crunch and didn't really want to risk disaster.
Front View
What I meant by "floating" the top layer is that it isn't sewing into the rest of the corset.  You can see here that it doesn't have any of the bone-lines showing through.  That is because the outer-layer is "floating" on top of the bones.

Front View; Detail
Busk Tie
I didn't pull the busk all the way out and picture it, but it has two, little holes drilled into it towards the bottom of the busk.  These two holes correspond to button holes that I put into my outer-fabric, lining layer, and the busk pocket (which is sewn into the lining layer).  Feeding ribbon through all of these layers proved to be impossible, so I instead used a blunt-tipped needle to feed some pearl cotton thread through.

The overall point of a busk tie is to keep the busk anchored as you stand-up, sit-down, and move around.  So, while it was tempting to skip the step of making all those button holes, I didn't want my wood to be poking out and saying hello.  ... ahem ...

Side View

Back View
Something that I'm pretty happy with about this pattern is that it is only three pieces.  Three pieces that go together *logically*.  It makes it very easy to do as I have done and pick a large-printed fabric and match up the patterns on each piece, so the whole garment looks continuous.

A note, though.  The pattern asks that you make your own bias tape, which I probably should have done.  I purchased my bias (again, time crunch) and purchased standard-sized "Single Fold" bias.  It was difficult to fit over the seam edges and just very annoying.  If I were to do this again, I might still buy my bias (I really dislike making my own) but I would buy "Extra Wide Single Fold" and make my life a little easier.

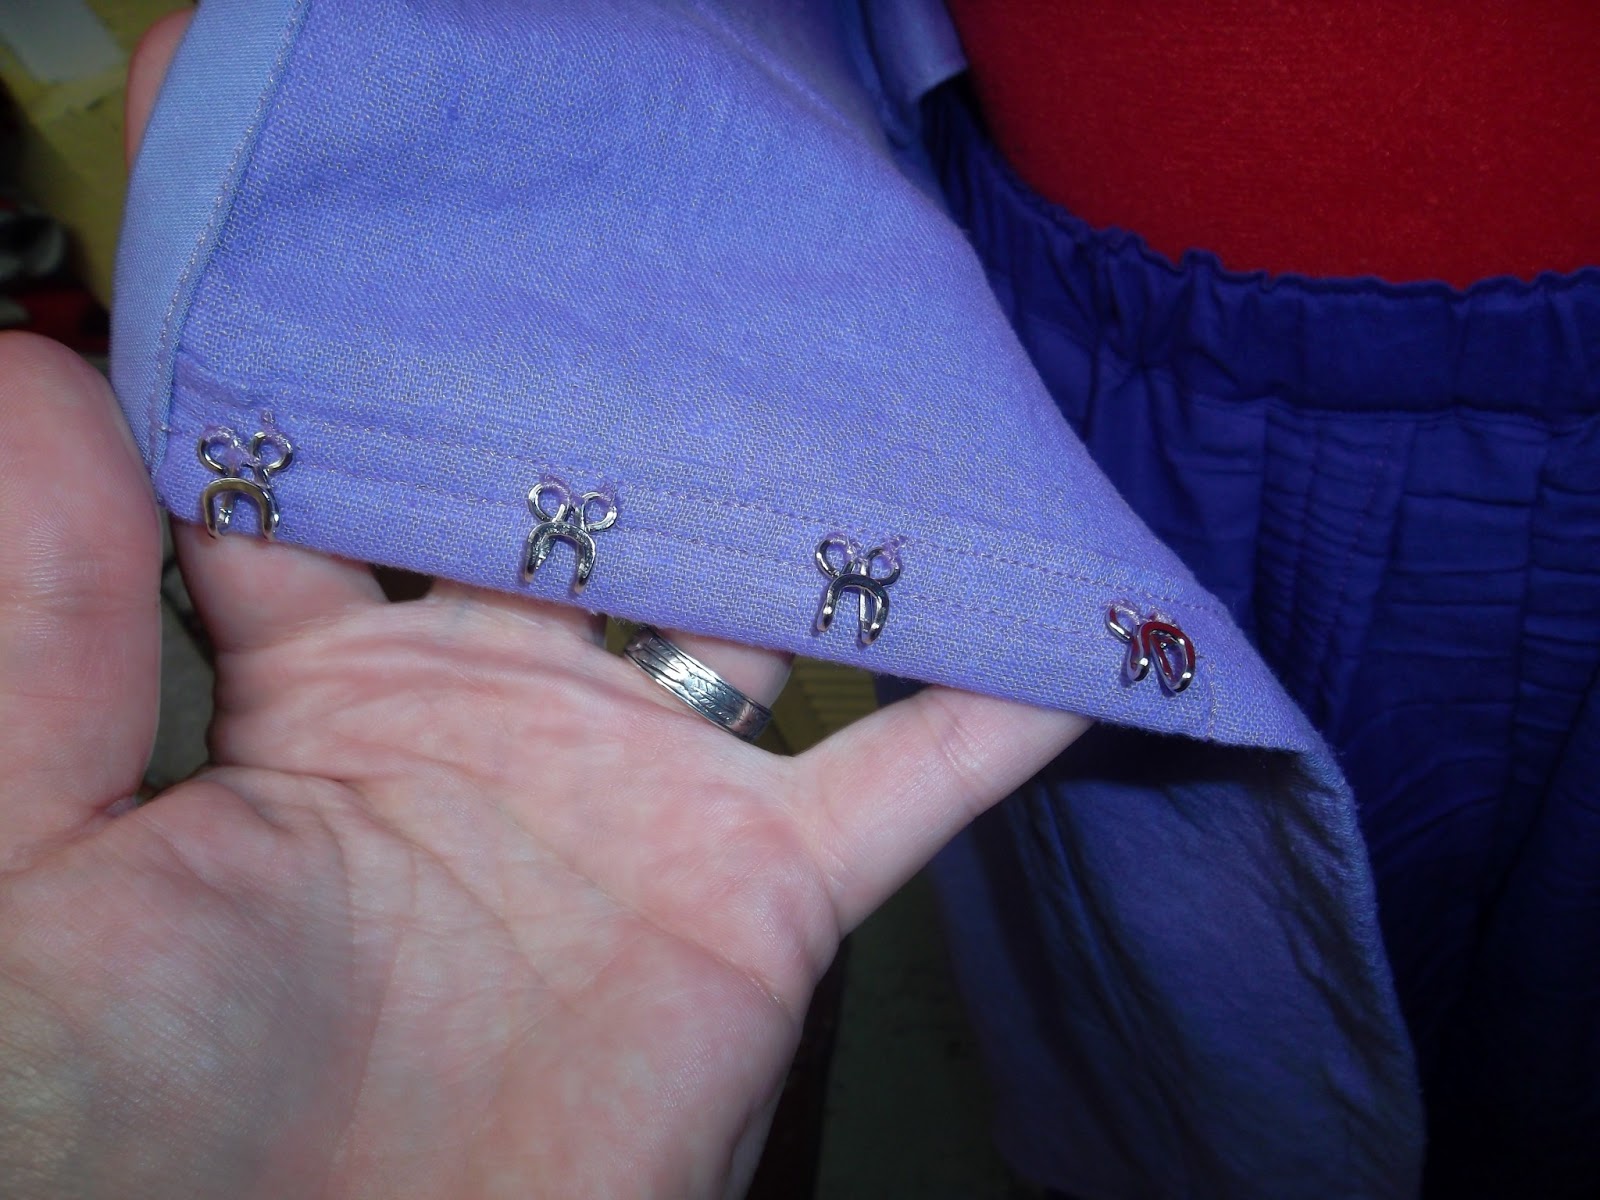
Oh!  Also!  You are probably wondering what happened to those lovely tabs that the pattern picture shows, but I do not have on my corset!

To be candid, I plain forgot about them.  I got into a groove and there was no stopping me.  In retrospect, I am kind of glad I forgot.  You are suppose to fit them into the corset as you bind the bottom edge, and as I was already having trouble with my bias-width, it would have taken binding the corset from "annoying" to "nightmarish".


Sunday Undies... Shifty Business

The second piece of my Sunday Undies was the "shift" portion of my undies.  Shifts were usually made from basic cloth, like linen or wool and were meant for the sole purpose of keeping sweat and body oils away from your outer-garments.  My shift is not made out of a basic cloth (please see earlier confessions of enjoying outrageous fabrics), but it will serve the purpose of keeping my sweat contained, I am sure.

I have no shame in saying that I used a pattern.
(A) I have always wanted to test run this pattern.
(B) I am working on a tight schedule, and I don't have time for draping.

So here's the front of the chemise.
You'll note that the neckline seems a bit rumpled and strange.
It seems strange because it is strange.  Perhaps the problem came in when the pattern company sized the base pattern up to a size 24 (my size for this pattern), but the neckline came out to be about twice the width of my shoulders.  I ended up doing some pleating in the front and the back and then putting a drawstring in, all in an attempt to keep the shoulders in place.  The end effect isn't terrible, but less than what I was hoping for.


Side View

Arm pit view!
This view is important so that I might show the arm-pit gussets!
For all of my complaints about the neckline, I have to admit that the rest of this pattern is really smooth.  My gussets went in easy-peasy, which isn't something I can usually say, and the sleeves needed only a minor adjustment for my Slavic-Peasant arms.  Even better, the 13.5" ease (yes, you read that right) allows *plenty* of room for my child-bearing hips.

Back View
I don't have any "in progress" pictures, because I honestly just followed the pattern instructions, and until I figure out what went wrong with the neckline I don't have any particularly interesting hints or tips.  I also had a "brilliant" idea to flat-fell all of my seams, only to realize (somewhere around the gussets) that flat-felling gussets is pretty well a useless pursuit.  The inside is pretty heinous (by my standards) as a result.

Regardless, I'm happy with the end result and I can't wait to trot this one out for my class!