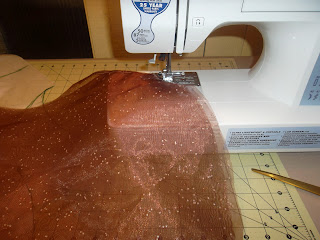
As you go through, please bear in mind that both wings are individually made up of two layers of fabric.
I started by sewing a small seam at the wing joint, just to finish it off.
Then, I sewed my fabric together, right sides touching.
All sewn up... with "helper" MG lurking by.
A close up of the seams. Please note that I back-stitched at all corners and points. I would have done this with a cotton, but since I'm working with a sheer, I *definitely* did it.
Clipping corners is important! Making stuffed animals taught me this, so now I am very careful to snip off my corners, and then trim off a bit of the angles.
Sewn together, corners clipped, turned, and top-stitched.
Pinned and held up to my dress-form for size reference. A fan was blowing on the wing, hence the distortion.
I need to make channels for the "bones" of my wings to slide through. I use bias tape for this kind of thing. Whether I cheat and I buy it, or I have the scrap/time/patience to make my own, bias tape is a multi-functional, wonderful thing.
I sewed very closely to the top edge and the bottom edge of the wing.
A close up of the bottom edge, with the bias tape channel.
Yes, I did use an "off" color for my construction. This was purposeful and meant to add a small bit of variety to the coloration I'm working with. Besides, the wings glitter. I'm not sure that many will notice.
Tomorrow I'm going to put the bones in my wings and perhaps learn a new skill as I do so!


No comments:
Post a Comment